Did you recently get a raspberry pi and need to know how to install Raspberry Pi OS? This article will show you step by step how to install Raspberry Pi OS on your Raspberry Pi.
This article will be broken down into the following sections:
- Prerequisites
- Downloading the Raspberry Pi OS Imager
- Prepare the SD card
- Configure the imager and install to the SD Card
Prerequisites
- A Raspberry Pi - any model will work from the Zero to the 4
- SD Card - 8GB and higher would be recommended
- A computer running Windows, Linux or MacOS
- An internet connection to download the Raspberry Pi image
Downloading the Raspberry Pi OS Imager
- Go to the Raspberry Pi Software download page and download the imager application for your computer. The page should automatically detect your operating system and display the appropriate download button for you

- Once the imager is downloaded, run it to install the imager to your hard drive
Once the installer completes the installation process, the next step is to prepare the SD card.
Prepare the SD card
- Go to the SD Association's website and download the SD card formatting tool. This is available for Windows and Mac OS.
If you're running Linux, you will need to format it yourself. Ensure that there is one partition that is formatted to the FAT32 filesystem.
It is a good idea to prepare the SD card before proceeding so that you are working off of a freshly formatting card. This will make the imaging process easier later on when we are running the imager application.
Configure the imager and install to the SD Card
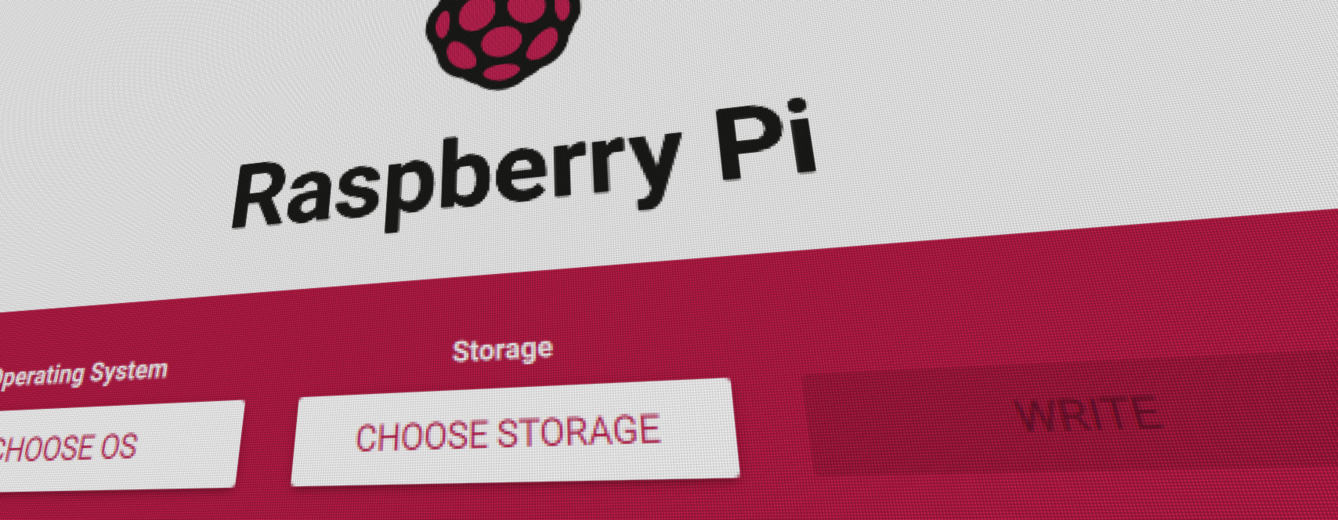
- Run the imager application and select the Operating System to install as well as the Storage device

Which Operating System should I select?
This will depend on what you will be doing with this Raspberry Pi installation. If you need a desktop environment, select the first option - Raspberry Pi OS (32-bit)

Which Storage device should I select?
This should only show removable devices. Here, you will select your SD card.
Once you have made your OS and Storage selections, you should see something like the following:

- Click the
gearbutton on the bottom right of the window and you will be presented with another window to customize the installation
You can configure a number of settings which can save you time later on since you won't need to set them up manually after the installation completes. Here is a list of what can be configured
- Hostname
- SSH Password / Key
- Username and Password
- Wi-Fi Network
- Timezone
- Keyboard layout
After everything is configured, click the Save button to save your custom settings and then the Write button to begin the process of writing the image to your SD card. This can take anywhere from 10 to 60 minutes, depending on the speed of your internet connection and SD Card.
Conclusion
If everything went well, you should have an initial installation of Raspberry Pi OS installed on your SD card. Now, you can insert it into your Raspberry Pi, plug it in and watch it boot up.
Initially, the Pi will perform some additional installation steps but this will only take a few minutes. Once those steps are finished, you should be presented with a desktop if you chose a full Raspberry Pi OS installation. If you chose a Raspberry Pi OS Lite installation, you should be presented with the text based login prompt.